• Add description, images, menus and links to your mega menu

  • A column with no settings can be used as a spacer

  • Link to your collections, sales and even external links

  • Add up to five columns

  • Lets Get Creative 🎨 How to build your own DIY Bead Kit

    September 04, 2020

    Lets Get Creative 🎨 How to build your own DIY Bead Kit

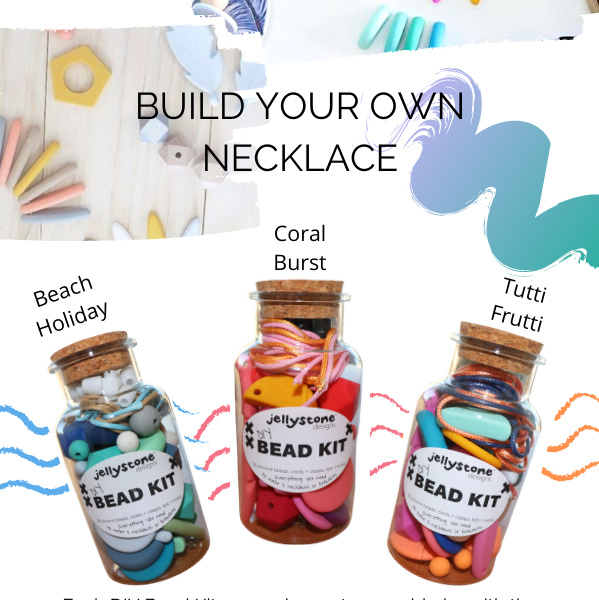
    Now you've ordered a DIY Bead Kit, here are some tips and tricks for you to make your own Jellystone jewellery!

    Supplies: 

    • Beads & Pendant
    • Cord
    • Clasps

    Steps: 

    • Choose the beads you'd like to include on your necklace as well as the cord colour
    • Thread the beads onto the cord (*tip* slightly burn the ends of the cord to make it easier to bead). Parental supervision required. See image below.
    • Cut the cord to the desired length and slip on the clasps at both ends (a different type of clasp for each end). The open side of the clasp should be facing outwards. See photo below.
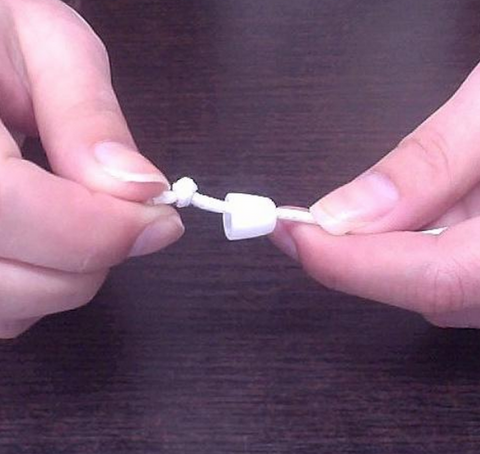
    • Tie off the necklace with a knot at both ends (the knot should sit inside the clasp)
    • Click the two ends of the clasp together

    Our Favourite Creations

    Leave a comment

    Comments will be approved before showing up.


    Also in The Jellystone Blog!

    Why Sensory Tools Are Essential for Kids with Anxiety
    Why Sensory Tools Are Essential for Kids with Anxiety

    October 17, 2024

    Read More
    Creating a Sensory Haven: Tips for Parents Using Jellystone Design Products
    Creating a Sensory Haven: Tips for Parents Using Jellystone Design Products

    September 18, 2024

    Read More
    The Science Behind Calm Down Bottles: How They Work and Why They Help
    The Science Behind Calm Down Bottles: How They Work and Why They Help

    September 06, 2024

    Read More